
How to install and configure FileZilla FTP Client

FileZilla logo featuring a stylized white 'Fz' on a red background, representing FTP client software for website management and digital marketing.

Many times files are just too darn big to send over email or will take up too much space in an online drive like DropBox or Google Drive (my favorite).  When that happens you can’t beat a good old FTP client/server for sending large files

1. Install FileZilla FTP client from https://filezilla-project.org/download.php

2. After installation, go start up FileZilla
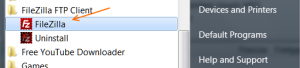
FileZilla FTP Client application icon highlighted in Windows start menu, illustrating installation step for FileZilla FTP client setup.

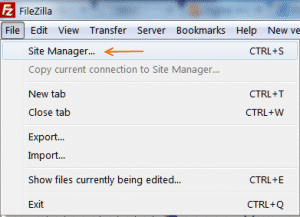
3.  Go to File–> Site Manager

FileZilla FTP client interface showing the Site Manager option under the File menu, relevant for configuring FTP connections.

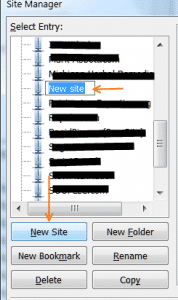
4. Click on New Site and input the name of the site

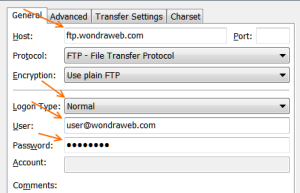
Site Manager window in FileZilla FTP client highlighting "New Site" option for configuring FTP connections.FileZilla FTP client configuration window showing fields for Host, Protocol, Login Type, User, and Password, relevant for setting up FTP connections to transfer large files.5. Input the Host

6. Change the Login Type to Normal

7. Input the User and Password

8. Click Connect to save & test or OK to just save the site

Connect, OK, and Cancel buttons from FileZilla FTP client interface, illustrating options for establishing a connection to transfer large files.

That’s all their is to installing and configuring the FileZilla FTP client. Happy uploading!
Share the Post: