In today’s digital age, having a strong online presence is essential for any business. One powerful tool for enhancing your online visibility is your Google Business Profile. A well-optimized profile can not only improve your local search rankings but also drive more traffic to your website. Use the following effective strategies to enhance your Google Business Profile and maximize its impact on your website traffic.
Claim and Verify Your Business Profile:
The first step to improving your Google Business Profile is to claim it and go through the verification process. This ensures that you have control over the information displayed and allows you to optimize it to your advantage. To claim your profile, visit the Google My Business website and follow the instructions to verify your ownership.
Optimize Business Information:
Complete all the required fields of your Google Business Profile with accurate and up-to-date information. Include essential details such as your business name, address, phone number, website URL, hours of operation, and business category. Take advantage of additional fields to provide a compelling business description, including relevant keywords to improve your search rankings.
High-Quality Photos:
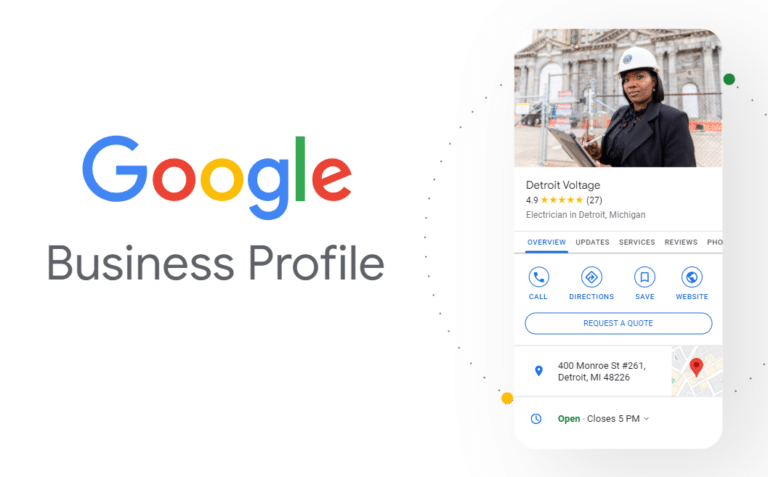
Images play a crucial role in attracting users’ attention and creating a positive impression. Upload high-resolution photos that showcase your business, products, services, and team. Make sure to include a visually appealing profile picture and a compelling cover photo. High-quality images not only make your profile stand out but also increase the likelihood of users visiting your website for more information.
Encourage Reviews and Respond Promptly:
Online reviews significantly impact consumers’ decision-making process. Encourage your satisfied customers to leave positive reviews on your Google Business Profile. Respond to all reviews promptly, whether they are positive or negative. Engaging with reviews shows that you value customer feedback and encourages others to consider your business. Positive reviews and active engagement can influence potential customers to visit your website.
Publish Relevant Posts:
Google Business Profile allows you to create posts about your business, products, events, and promotions. Leverage this feature to keep your profile fresh and engaging. Regularly publish relevant and informative posts that link back to your website. Consider sharing blog articles, upcoming events, special offers, or new product launches. These posts will not only attract users’ attention but also drive traffic to your website.
Utilize Google Q&A:
The Q&A section of your Google Business Profile provides an opportunity to address frequently asked questions. Monitor and respond to questions promptly to assist potential customers. Include links to relevant pages on your website that provide detailed information on specific topics. This not only helps users but also directs them to your website for further exploration.
Utilize Google My Business Messaging:
Enabling messaging on your Google Business Profile allows customers to contact you directly. Respond to inquiries promptly and provide helpful information. Encourage users to visit your website for more detailed or complex inquiries. By leveraging messaging effectively, you can drive more engaged traffic to your website.
Monitor Insights and Adjust:
Regularly monitor the insights and analytics provided by Google My Business. Gain insights into how users interact with your profile, including the number of website visits, phone calls, direction requests, and reviews. Analyze these metrics to identify trends, strengths, and areas for improvement. Adjust your profile and strategies accordingly to optimize your website traffic.
Enhancing your Google Business Profile is a powerful way to boost website traffic and improve your overall online visibility. By following these strategies, you can optimize your profile, attract more visitors, and convert them into loyal customers. Remember to regularly monitor and update your profile to stay relevant in the ever-evolving digital landscape. Take advantage of the opportunities provided by Google My Business to maximize the impact of your online presence and drive traffic to your website.